1970 - 1978 GM Style Reproduction
Power Seat Glider Installation Instructions
Power Seat Glider Installation Instructions
|
1970 - 1978 GM Style Reproduction
Power Seat Glider Installation Instructions |
|
 |
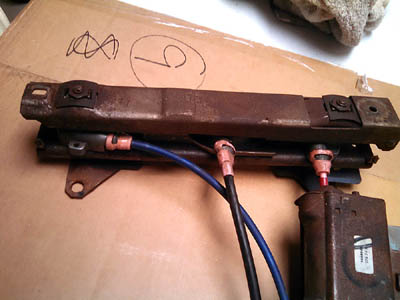
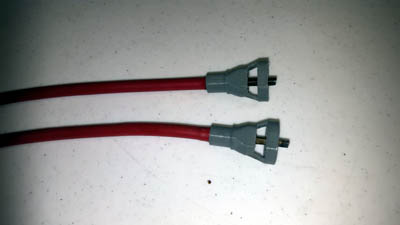
Carefully remove the cable clips from the actuators. |
 |
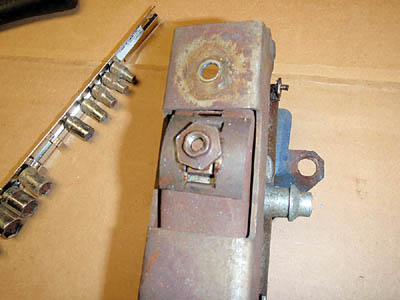
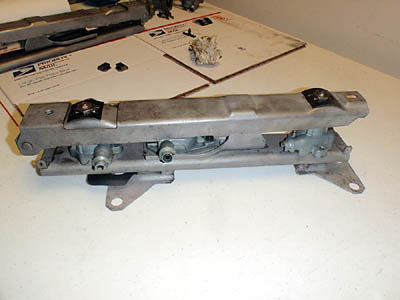
Next remove the two large actuator nuts from the top of the front and rear units. This is necessary in order to access and remove the center actuator in the step below. |
 |
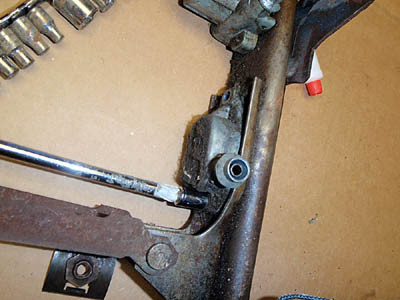
Next remove the two bolts holding down the center acuator. This will allow you to seperate the track foot assembly from the top section. |
 |
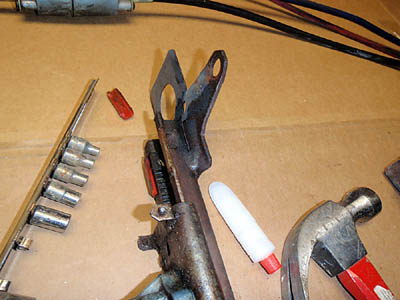
Slide lower track out towards the front. You may need to tap the track with a hammer to get it out. You should NOT use a hammer when re-assembling with new gliders... |
 |
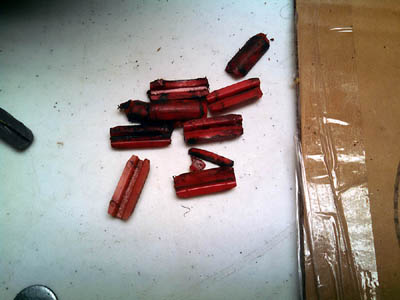
Here is the complete mess from what I removed from this particular set. Majority broken in pieces or cracked. |
 |
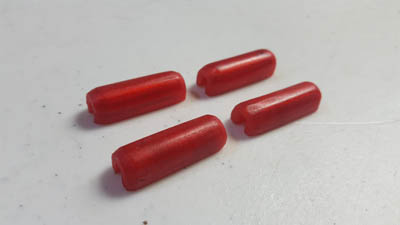
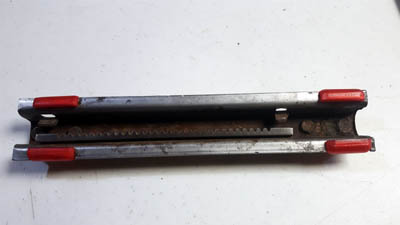
New Gliders have been test fitted on 2 seperate tracks. They may require some light sanding if the foot section does not easily slide into the top portion. |
 |
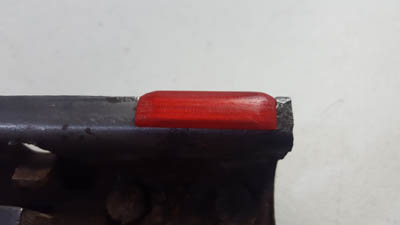
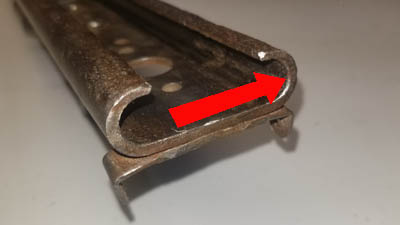
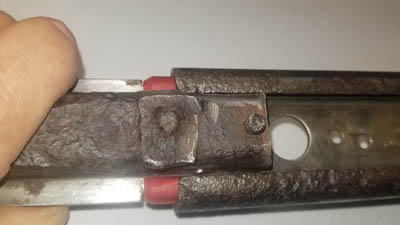
Gliders should be evenly seated in order for easy installation. Only a very small portion of the new gliders should extend beyond the track floor side. |
 |
Here is a close-up.... The gliders are paired up when produced and should require no addtional work. If sanding is necessary, remove material with a 150 grit, then finish with 400. The gliders are test fitted on 2 seperate tracks. |
 |
It may be necessary to "de-burr" The sliding top portion of the track before re-assembly. This will allow for easier insertion and no damage to the new gliders. Remove all old grease, and generously apply new grease to both sides of channels. |
 |
NEVER use a hammer when installing the base back into the track... You should be able to gently wiggle the track base into the channel if all the steps above were performed. The new CPE gliders are very strong and will perform flawlessly if installed properly. Again make sure new glides are evenly seated all the way before inserting.. |
 |
Re-assemble and you should be good to go... Now is a good time to sync both sides to make sure they are in the same location when re-installing. I use an old cable and a drill, to SLOWLY adjust the tracks. |
 |
I have also designed replacment cable clips for the drive cables. These attach over your broken clips. Details available under the Replacement Power Seat Cable Connectors link. |